
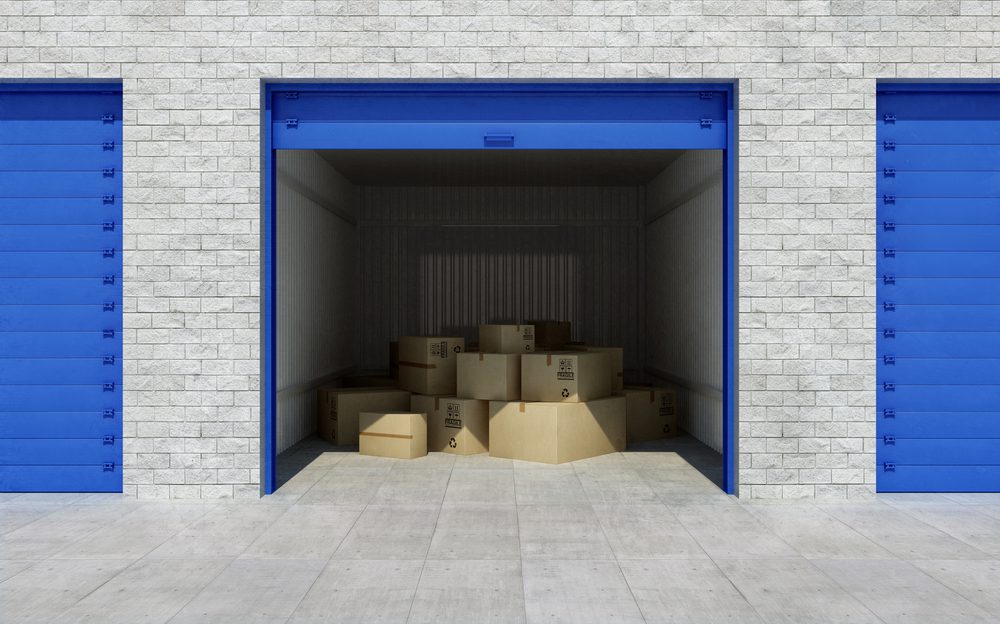
Spring is a time of renewal, week-long breaks from school for the kids, and for moving items you collected over the winter from your home to a storage unit. We’ve got nine pro tips on how to fill your self-storage unit with items for the most effective and efficient results.
1. Climate-Controlled or Outdoor Storage?
First, determine if you need climate-controlled or outdoor storage. If you have sensitive electronics, antique furniture, artwork, or lots of paper items, climate-controlled storage is the way to go because these items are sensitive to humidity and temperatures.
Outdoor storage units are great for:
- Patio and deck furniture
- Pool toys
- Christmas lights and decorations
- Lawn decorations
- Sports equipment
- Seasonal items like personal watercraft, snowmobiles, ATVs, and lawnmowers
- Supplies
- Grills
- Plastic or metal furniture
If you store anything that requires oil or gasoline to operate, make sure to empty the engines completely of these fluids before moving them into your storage unit. You’ll also want to remove any batteries from electronics.
2. Assess Space Requirements
How big of a storage unit do you need? Using an online storage unit size calculator, like this one here, can help you assess how much space you need based on the furniture or room size you have. You don’t want to pack everything up just to realize you don’t have room in your storage unit once you get there.
Take into consideration the dimensions of large furniture. If you can remove pieces of some furniture, like the legs of a table, that can help you have more room. Or, you can stack items under and on top of the dining table to utilize the space more efficiently.
3. Plastic Storage Tubs Are Your Friend
Packing as many small items into plastic storage tubs is a great way to protect items. But don’t go with ones that have wimpy lids. You want ones that are ones with sturdy sides and lids because you’ll probably stack them into your storage unit to utilize the space as much as you can.
Plastic tubs are also sturdier than cardboard boxes for long-term storage. If the boxes break down at some point, you’ll have to replace them. Yes, you can buy boxes in bulk that are fairly inexpensive. But you could save time and money with plastic tubs. You can easily label them with masking tape on the side so you can easily see what’s in them.
4. Take Inventory
Want to know what’s in each tub or box? Your smartphone can help. There are inventory apps, many of which are free, that you can download to your phone. Invest in some barcode labels you can print out at home.
Then, let the scanning begin! Your smartphone camera can take a photo of the barcode on the label. Then, you can input what’s in a particular tub or box. You can also take a photo of what’s inside the container to get a visual. The more detailed you are with the inventory, the better this process will be.
When it’s time to go to your storage unit to get something out, you don’t have to open endless boxes or tubs to figure out what’s inside. Just scan the barcode with your smartphone camera to tell you what’s inside each box.
5. Bring in Some Shelving
Perhaps you want better organization than stacking boxes or tubs on each other, or you don’t have enough large, heavy objects to form a foundation for organizing your storage unit. Or, maybe you want to organize the interior space more effectively.
Consider putting some shelving along one or more of the walls of your storage unit. Shelving is an easy way to create rows and aisles for easy access. Metal shelving is the sturdiest. There is plastic shelving you can buy that’s less expensive and more appropriate for lightweight items versus heavy items. It depends on the items you want to store.
6. Stack in Layers When Dealing With Boxes & Tubs
Stacking in layers lets you make use of the vertical space in the self-storage unit. Put the heaviest items on the bottom and the lightest items on top. This method prevents things from falling over. You can even do this with plastic tubs when stacking from floor to ceiling. You’ll get more out of the limited space you have on hand.
If you have a combination of plastic tubs and cardboard boxes with equal weight, consider putting the plastic tubs on the bottom. Plastic is generally sturdier than cardboard.
7. Line the Walls First
Start your stacking process by lining the walls with items first. Begin with the back wall, and stack as high to the ceiling as you feel comfortable. If the ceiling is high, bring a step stool or ladder, and a buddy might be helpful when handing stuff down to the ground.
Then go to the side walls. The idea here is that the walls can form an aisle for you to walk through when organizing your items. Leave enough room between columns for you to walk when organizing your items.
Ask yourself: Can I move items in and out of the storage unit easily if I need to get something that’s in the very back? Creating aisles makes it easier to retrieve items.
Lining the walls first makes it easier to place large, bulky items. If you don’t have enough space for aisles and rows, stack things evenly and straight as high as you can, making the outermost layer as smooth as you can (we call it “squaring”). Next, do the same thing by adding another layer, and so on and so forth, until your unit is filled.
8. Keep Items You Want to Get to Close to the Door
As much as we want to organize things into neat rows and aisles for easy access, sometimes we have items to store that don’t foster this kind of neatness. If you have to fill the storage unit completely, we highly recommend keeping the items you want to get to first as close to the door as possible for easy access.
9. Hire the Movers Who Give a Damn to Fill or Empty Your Storage Unit
Need help emptying or filling a storage unit at any time of year? Contact us or give us a call at (417) 501-9128. We’ll have some strong, organized movers take care of your items.